- Log in to the partner portal
- Set up your account
- Create your public profile
- Upload your profile picture & connect social media
A strong partner profile is more than just a formality — it is your stage. This is where you show who you are, what makes your courses special, and why customers should book with you.
A complete and personal profile not only increases trust among potential customers, but also helps you generate more bookings.
If you like, you can also watch the video tutorial. Below you’ll find the full step-by-step guide.
1) Step 1: Log In to the Partner Portal
Log in to the partner portal here.
When registering, you created an email address and password. You can log in anytime using the following link:
https://backoffice.gokonfetti.com/#/sign-in
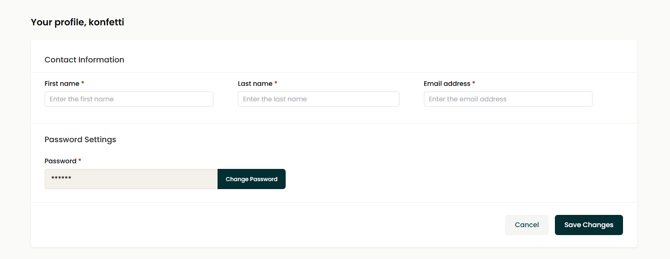
Once logged in, you will find the gear icon in the top right corner. There you can access your user settings, where you can change your email address and password.
Tip: Use your real first and last name here — not your company name.
2) Step 2: Set Up Your Account
Go to “My Account” in the menu and complete your information.
The following information is important:
- Brand name
The name under which you appear — e.g. your business name or course brand.
→ This name will also appear multiple times in your description later. - Website
Optional — add your website URL here. - Email address
An address where we can reliably reach you. Customers will also receive this address in their booking confirmation. - Phone number
Helps us contact you quickly if needed. - Page title
The title of your partner page, e.g. Cooking with Tobi – Cooking Classes in Berlin - Address
Either your business address or the location where your events take place. - Main language
Choose between German and English. Your content will later be translated automatically.
Here you can learn everything about automatic translations. - Specialization
Select whether you offer courses, experiences, tours, or kits.
Here you can learn more about the different formats.

3) Step 3: Create Your Public Profile Description (appears on your partner page)
In a short text, explain who you are, what makes your courses special, and why customers should book with you.
Your text should answer the following questions:
- Who are you and what is your mission?
- What makes your location special?
- What makes your courses/events different from others?
- Do you offer private events or team events?
Writing Tips
- Write in the first person (“I” form)
- Speak directly to your audience: you
- Maximum 500 words
Short Description (appears on your course pages)
This short description helps interested users quickly understand what they can expect from your offer.
- Maximum 300 words
- Focus on motivation and benefits for participants
Writing Help – Do’s & Don’ts
Do’s
- Write personally (“I am…”)
- Show enthusiasm for your topic
- Mention concrete content and benefits
Don’ts
- Only listing facts or bullet points
- Generic phrases (“great courses for everyone…”)
- Writing in an impersonal tone
4) Step 4: Upload Your Profile Picture & Connect Social Media Profile Picture
Use a high-quality image that represents you and your brand.
Technical Requirements
- Minimum size: 1024 × 768 px
- JPG or PNG
- No logos, stock photos, or watermarks
Social Media
Optionally add links to your Instagram, LinkedIn, or Facebook profiles. This helps you build additional reach and trust.
Conclusion & Call-to-Action
A complete profile looks professional and authentic — and helps increase your bookings. Take the time to carefully complete and maintain your profile. We support you every step of the way.
→ Log in now and create your profile: Partner Portal