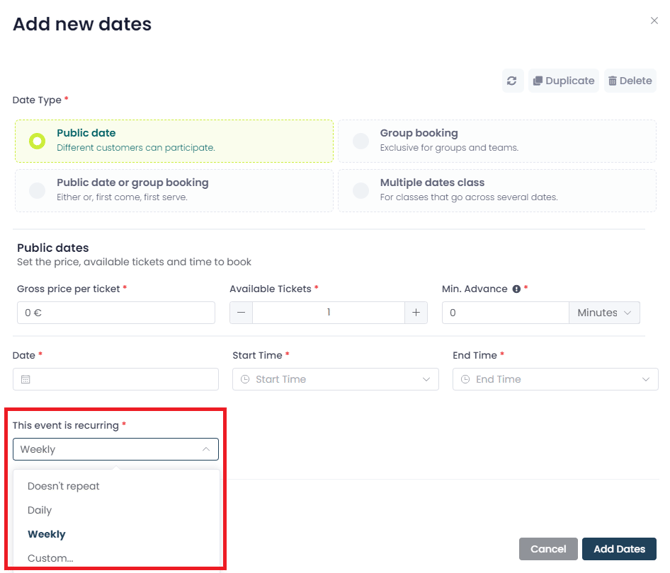
❗ When you add a new date, the default setting initially determines that the date is recurring on a weekly basis. You can adjust this as required under “This event is recurring”.
1. Date manager “My Dates”
- Search for the course to which you want to add new dates.
- Press the ➕ “plus” symbol on the right.
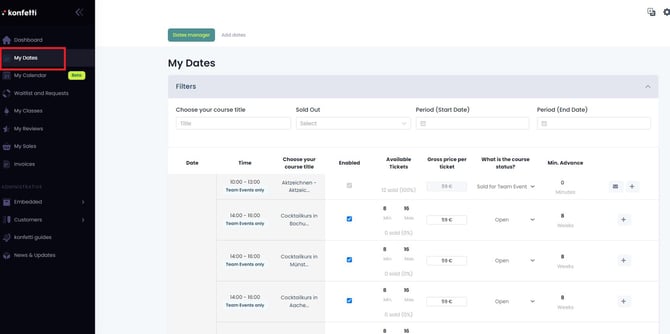
- A window opens in which you can add a new date.
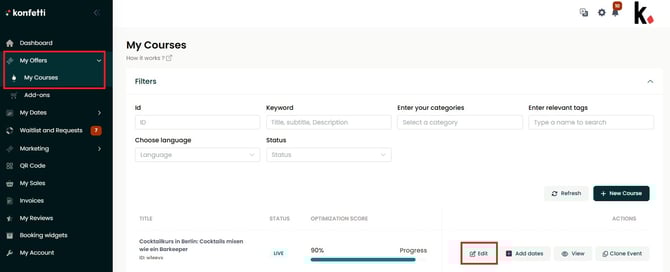
2. Course administration “My Classes”
- Go to “My Offers → My Classes” in your partner area.
If you chose a different specialization, the wording can also be “My Experiences”, “My Tours” or “My Kits”.
- Select the relevant offer and click on ✏️ “Edit”.
- Select the relevant offer and click on ✏️ “Edit”.
-
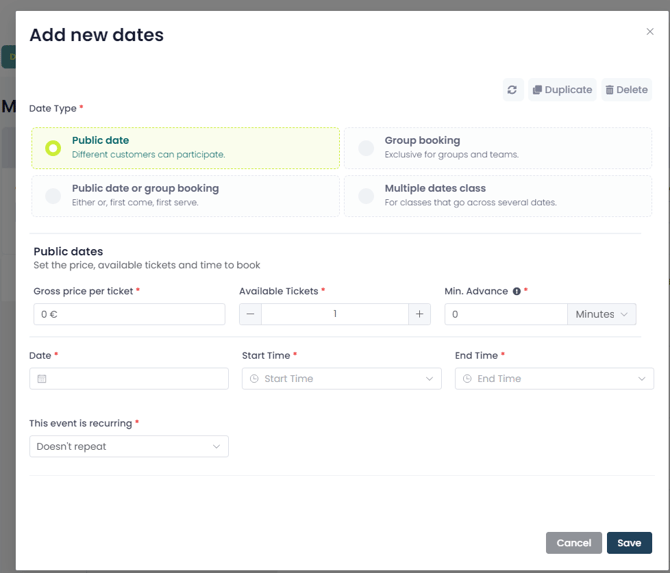
Go to the step “Dates”.
-
Click on the green button “+ Add new dates”.
Make sure that you have set your prices in advance.
👉 Here you can learn everything about the price settings.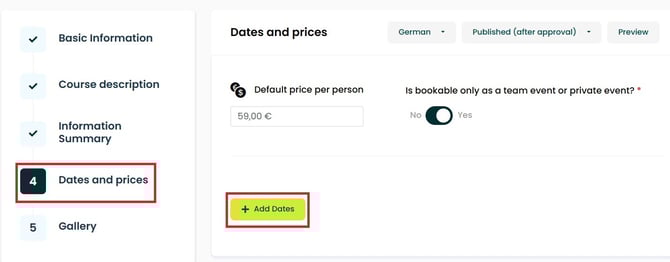
-
Choose the right date type and fill in all the necessary information. Learn all about the four different date types in this article.
-
Click on “Add dates” and then on “Save and continue” when you have added all the dates to save them and publish them on your course page.
If you have selected the “Is bookable only as a team event or private event?” toggle, you can only add group events. Please note that your public dates will no longer be shown!
